hello@example.com
Clip gain, pitch and warp control right from the timeline
Clip gain, pitch and warp control right from the timeline
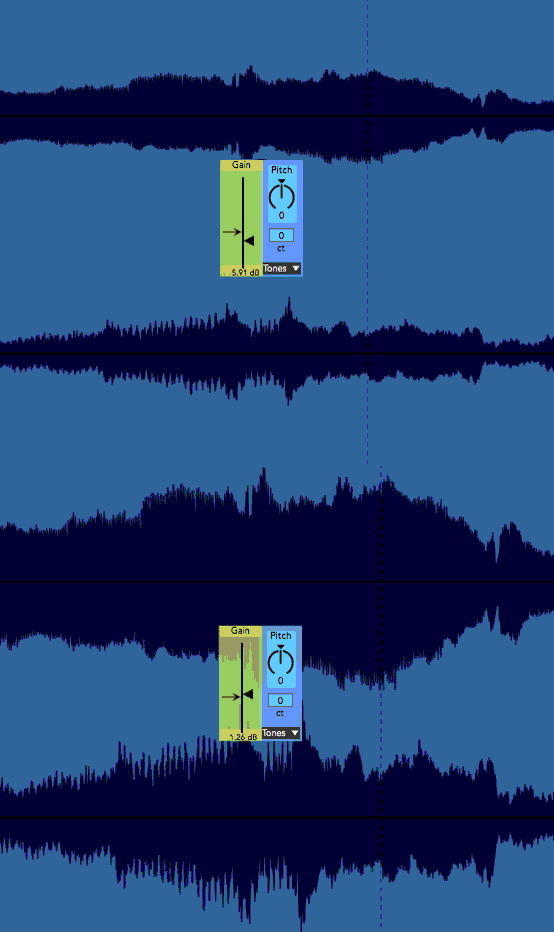
For quite some time Live had something utterly useful that many DAWs didn’t have: clip gain. Not a user-unfriendly trim automation lane; not a device you’d have to add to your FX chain before any other processing or a destructive edit, no… a simple clip gain knob !
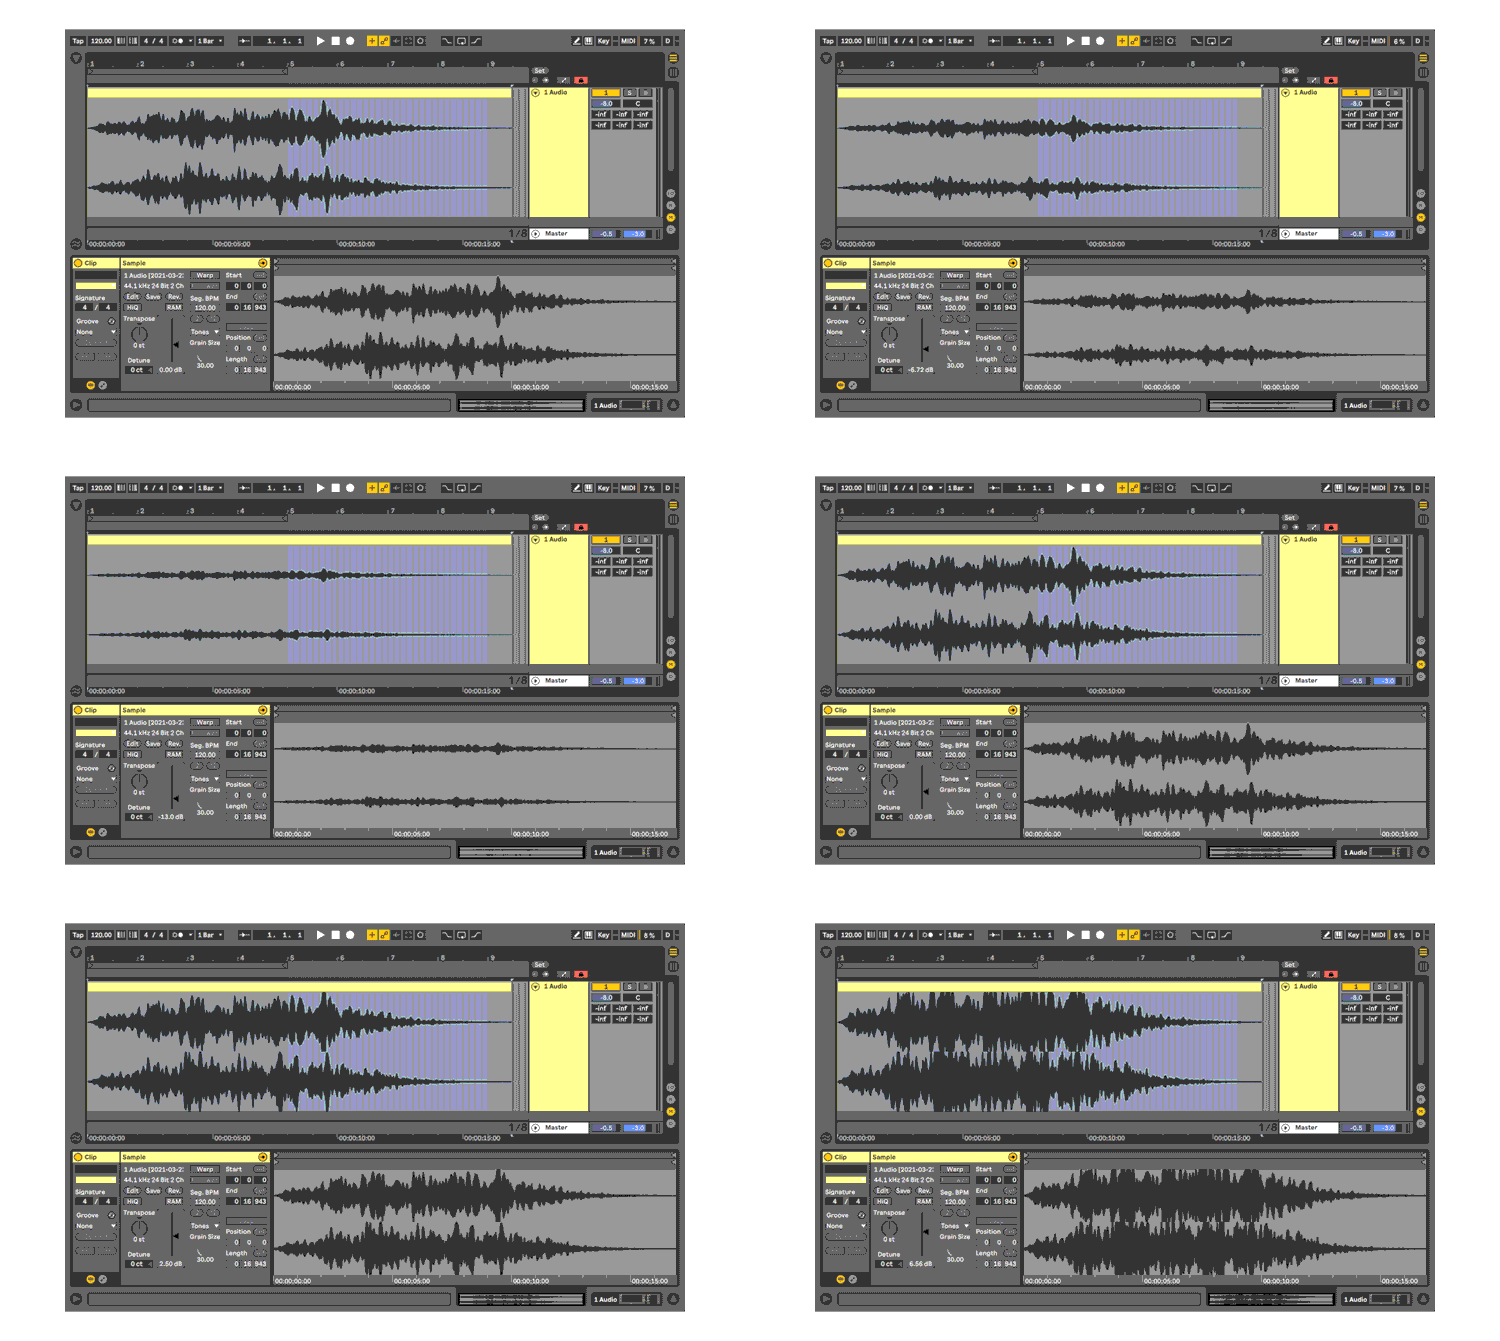
Nowadays, this feature is part of almost every DAW and most of them did catch up with a quite (more!) handy implementation: the clip gain setting is found right on the clip itself, in the timeline.
And this isn’t an insignificant difference!
Sure, Live’s implementation is far from being overcomplicated, but this is a parameter you need to tweak for almost every audio clip… so why not mimicking how it works (more easily) in most other DAWs?
Well, that’s what ClipGain does!
And since there’s a few other clip parameters that could also benefit from a quicker access, ClipGain provides!
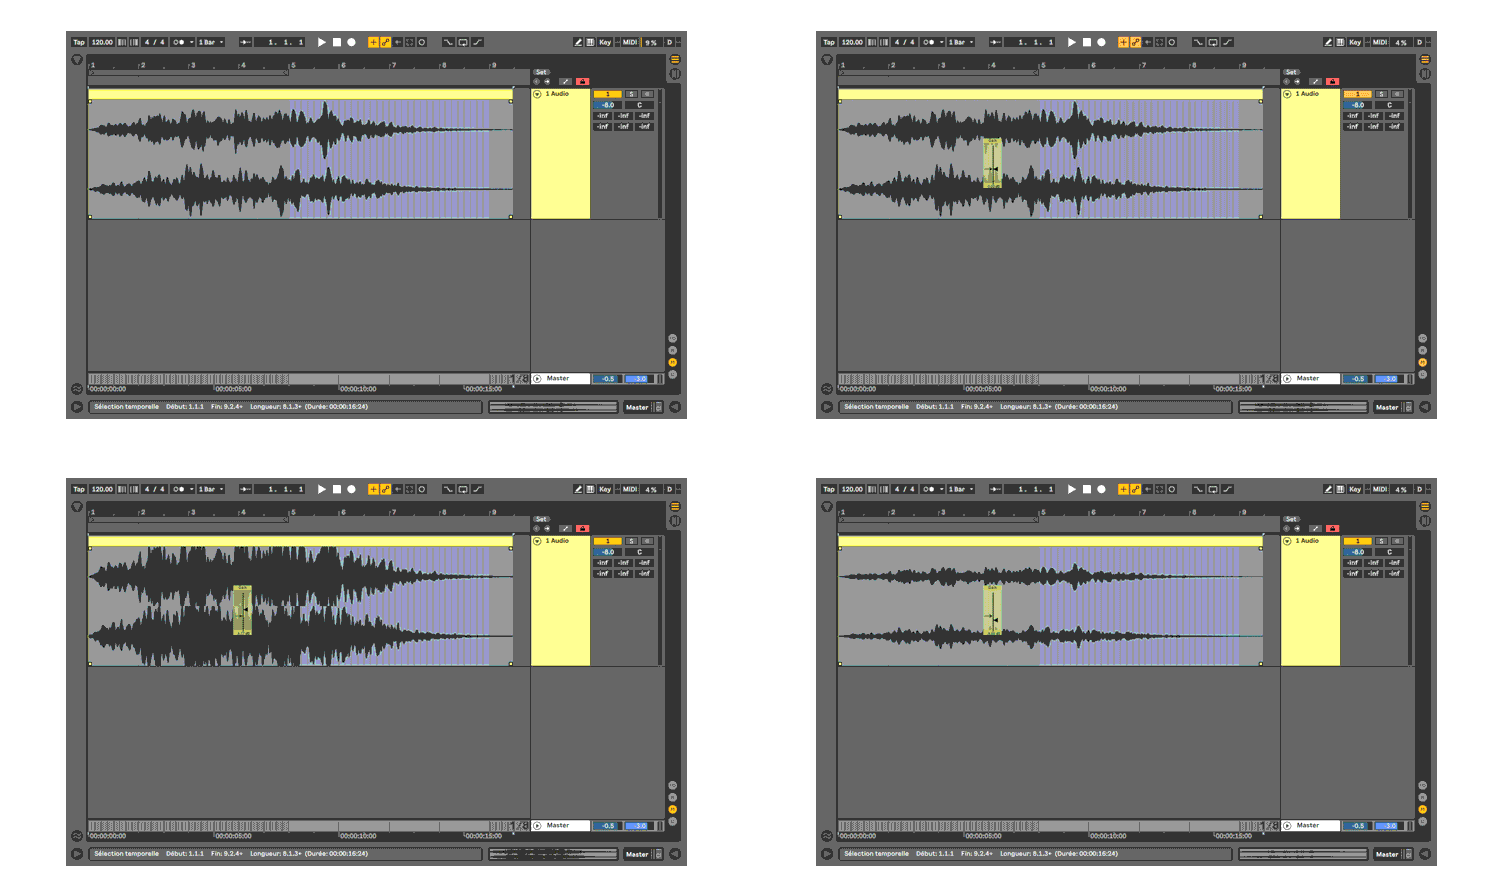
ClipGain works on the selected audio clip and gives you access to:
The clip’s Gain :
The clip’s Transpose/Pitch in semitones and cents :
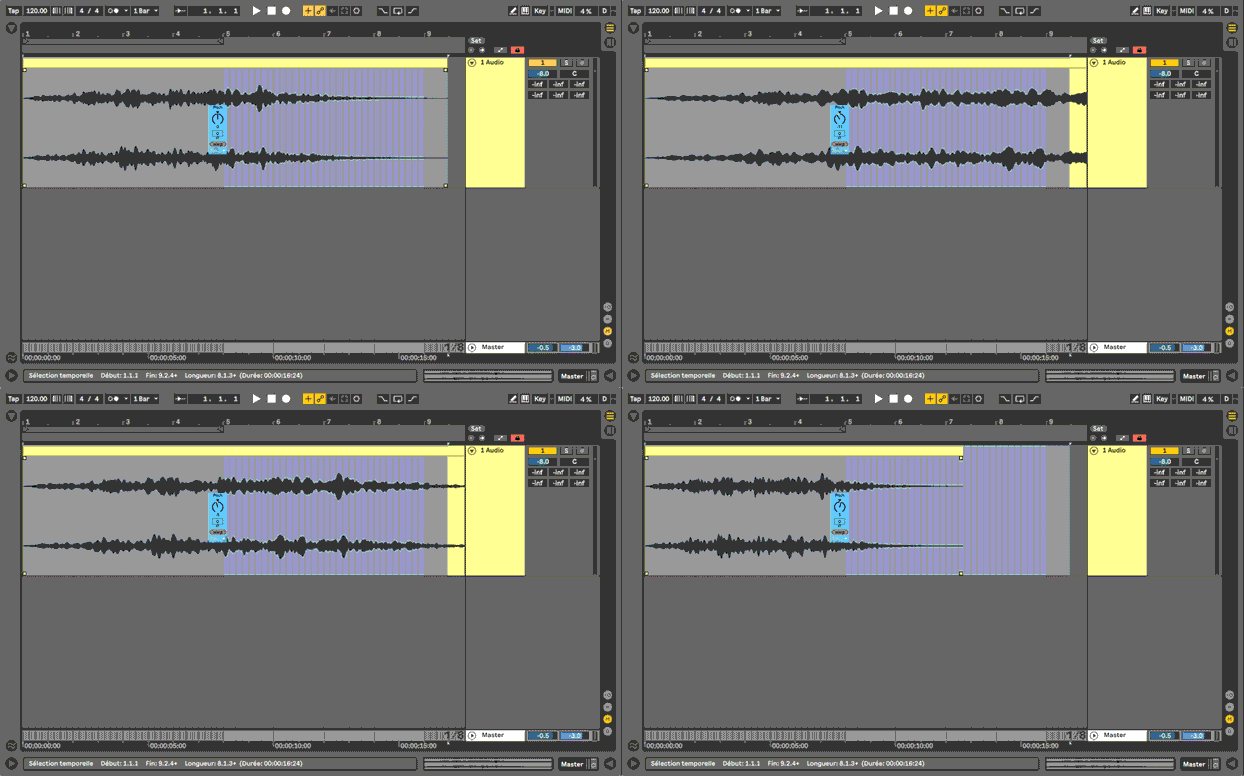
– the clip’s warp/unwarp toggle
– the warp mode selection
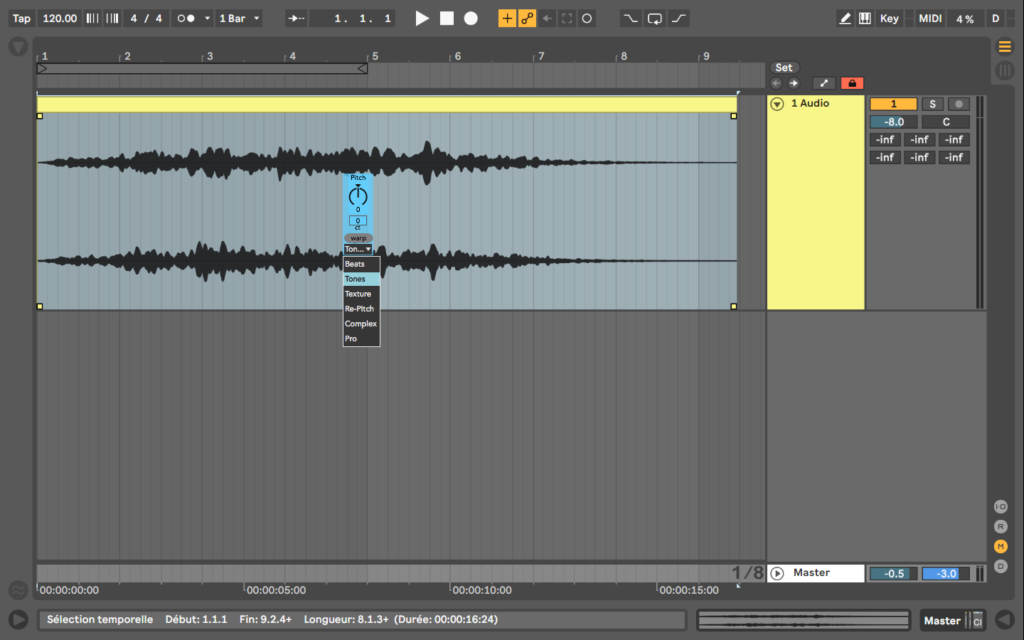
The clip’s Transpose/Pitch in semitones and cents :

– the clip’s warp/unwarp toggle
– the warp mode selection

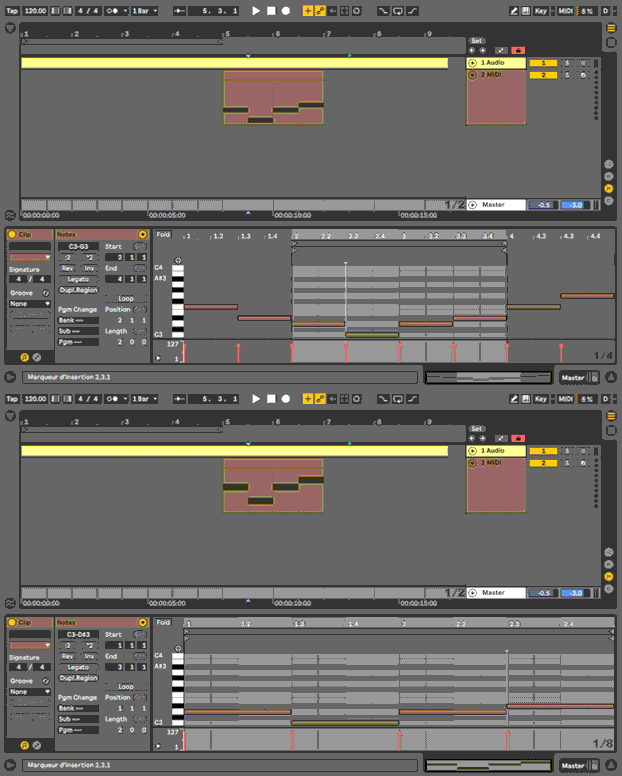
Since we need to bring some love to midi clips too, ClipGain’s « Crop » mappable button gives you a shortcut to crop your midi clip in the piano roll.
It’s a bit like how the « consolidate » shortcut found in Arrangement can be used, but for the piano roll. Easy, handy.
Decap made a quick video about it: